A complete fall lawn renovation for cool season grass comes down to six weeks and a clear sequence. Do it in the right order, in the right window, and most lawns respond quickly. Miss the window or mix up the steps, and you’ve wasted a full season. This guide gives you the plan — week by week, with timing anchors and quantities — so you know exactly what to do and when to do it.
Disclosure: This article contains affiliate links. If you purchase through these links, I may earn a small commission at no extra cost to you. As an Amazon Associate, I earn from qualifying purchases.
Why Fall Is the Best Window for Cool Season Grass Renovation
Soil temperatures between 50–65°F are the sweet spot for cool season grass. Roots grow actively, seed germinates reliably, and the grass has enough time to establish before winter. At the same time, warm-season weeds like crabgrass are dying back, which means new grass seedlings face less competition for light and water.
The window is roughly 6–8 weeks before your average first hard frost. In the northern U.S., that often means mid-August through September. In the transition zone (Virginia, Missouri, Kansas), the window is tighter — you may have 6 weeks maximum before temperatures make germination unreliable. Wherever you are, the clock starts now. If you’re managing a warm-season lawn instead, the Complete Guide to Warm Season Grasses covers the different timing and renovation considerations that apply to those species.
How to Assess Your Cool Season Lawn Before You Start
Before you buy anything or run an aerator, spend 20 minutes on a quick lawn walkthrough. This step determines which renovation tasks you actually need — and whether you’re dealing with a genuine decline or something else entirely. If you’re not sure whether your lawn is dead or just dormant, check Cool Season Lawn Looks Dead or Brown in Late Summer — Is It Dormant or Dying? before committing to a full renovation plan.
Three things to check:
- Coverage — Estimate what percentage of the lawn is thin or bare. Under 40–50% dead or bare means overseeding is the right approach. Over 50% means you may be looking at a full renovation — stripping and reseeding — rather than patching.
- Compaction — Take a standard screwdriver and push it into moist soil. If you can’t get it 2–3 inches deep without real effort, compaction is limiting root development and seed germination. Aeration goes on your list.
- Thatch depth — Cut a small wedge out of the lawn and look at the cross-section. The layer of spongy brown material between the green blades and the soil surface is thatch. More than ½ inch, and it’s preventing seed-to-soil contact. You’ll need a thatch rake or a dethatching pass before or after aeration.
If you haven’t tested your soil in the last 2–3 years, pull a soil sample now. Nutrient deficiencies and pH problems undercut every other step in the renovation, and you need those results before you apply anything. For a full breakdown on how to read your results and act on them, see My Lawn Soil Test Results Came Back — What Do I Do Now. And if you want to see how soil health fits into your full annual plan, How to Build a Lawn Care Schedule Based on Your Grass Type and Region covers that bigger picture.
By the end of this step, you should have a short list: aeration yes or no, overseeding yes or no, dethatching yes or no, and a note on whether any amendments are needed before fertilizing.
Week-by-Week: The 6-Week Fall Lawn Renovation Plan for Cool Season Grass
Use these week numbers as relative anchors — Week 1 is when you start, not a specific calendar date. Adjust to your region’s frost timeline.
Week 1 — Prep and Assessment
1. Mow shorter than normal. Drop your mowing height to 2–2.5 inches for tall fescue or 1.5–2 inches for Kentucky bluegrass. This reduces canopy shade on new seedlings and makes it easier to see the lawn surface during your walkthrough.
2. Complete your assessment checklist. Coverage, compaction, thatch — done above.
3. Submit a soil test if needed. Results take 1–2 weeks. You want them back before Week 3 so you can apply any amendments before fertilizing.
4. Confirm soil temperature. This is worth doing before you commit to seeding. A soil thermometer — a basic probe that costs $10–15 — tells you whether the ground is still in that 50–65°F germination window. Guessing here is how people seed too late and wonder why nothing came up.
5. Check irrigation coverage. Walk your zones and confirm you can water evenly across all seeded areas. Fix gaps now rather than after seed is down.
6. Core aerate the lawn. Run a core aerator over compacted areas or the full lawn if compaction is widespread. Leave the biology and timing rationale to the dedicated article — When to Aerate Cool Season Grass: Fall vs. Spring Timing Explained covers all of that in detail. For this plan, the task is straightforward: aerate before you seed.
7. Leave the plugs where they fall. This is the mistake most people make — raking the plugs up. Leave them. They break down in 2–3 weeks and return organic matter to the soil.
8. Dethatch if needed. If your thatch layer exceeded ½ inch, use a thatch rake or run a dethatching pass before or right after aeration.
Week 2 or 3 — Overseeding (Immediately After Aeration)
Seed as soon as possible after aerating — ideally within 24–48 hours while the holes are open. That open-hole-to-soil pathway is the best natural seed bed you’ll create without renting a slit seeder. This timing is one of the most important details in any cool season grass fall renovation: the sequence matters as much as the individual steps.
9. Apply seed at the correct rate:
- Tall fescue: 6–8 lbs per 1,000 sq ft
- Kentucky bluegrass: 2–3 lbs per 1,000 sq ft
- Perennial ryegrass: 5–7 lbs per 1,000 sq ft
10. Use a broadcast spreader for even coverage. Split your total seed amount in half and make two passes in perpendicular directions. This eliminates streaking and gaps. For smaller areas, a handheld spreader does the same job.
11. Match seed to your existing grass type. Mixing species — say, throwing tall fescue seed into a Kentucky bluegrass lawn — creates a patchy, inconsistent look that won’t improve over time. Match what’s already there. If you need a refresher on the characteristics of each species, the Complete Guide to Cool Season Grasses (Fescue, Bluegrass, Rye) is a useful reference before you buy seed.
If you seed and see nothing happening after 10–14 days, don’t panic yet — but do check Overseeded Lawn Not Germinating: Why Your Grass Seed Isn’t Coming Up before you reseed. There are a few fixable reasons germination stalls.
Week 3 — Starter Fertilizer
12. Apply a starter fertilizer. Look for a product where the middle N-P-K number is equal to or higher than the first — something like 18-24-12 or 10-18-10. Phosphorus drives root development in new seedlings. A general-purpose lawn fertilizer doesn’t do the same job here.
Apply at the label rate. More is not better — over-application doesn’t speed germination, and it can burn young seedlings.
If your soil test came back showing pH is out of range, apply lime or sulfur now before this fertilizer application, not after seeding has started.
For readers who want to understand why the fertilizer formula matters at this stage, Slow-Release vs. Fast-Release Fertilizer explains the differences and when each type applies.
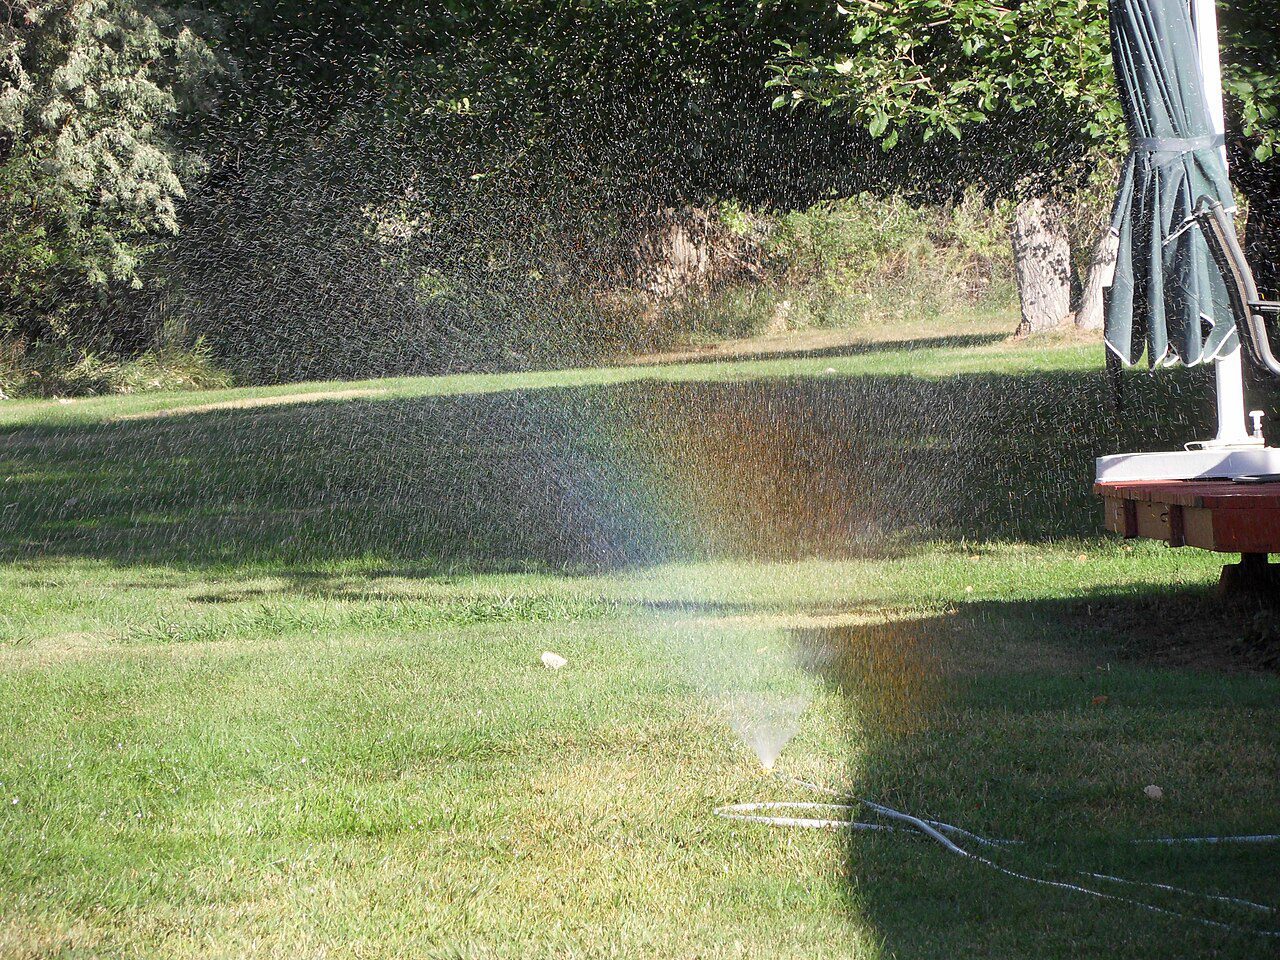
Weeks 3–5 — Watering
This is the phase that determines whether the fall lawn renovation works. New seed needs consistent surface moisture to germinate and stay alive through the first two weeks.
13. Water lightly and frequently. Aim for 2–3 short watering sessions per day, keeping the top ½ inch of soil moist. A single heavy daily watering dries the surface out between sessions, and that’s where the seed is.
14. Shift to deeper watering once seedlings reach 1–1.5 inches. At that point, you want to train roots downward. Move to deeper, less frequent watering — roughly ¼ to ⅓ inch per session, once daily or every other day.
Here is the reality of this phase: if you’re at work during the day, this schedule is almost impossible without automation. A hose end irrigation timer is genuinely useful here — it runs short cycles on a schedule without you being home, which is the only realistic way most people pull off 2–3x daily watering for three weeks straight.
Week 4 — First Mow of New Seedlings
15. Wait until new grass reaches 3–3.5 inches before mowing. Mowing too early pulls seedlings out of soil they haven’t yet anchored into.
16. Mow at 3 inches. Never remove more than one-third of the blade height in a single mow. Set your deck to 3 inches and don’t go lower.
17. Use a sharp blade. A dull mower blade tears new grass out rather than cutting it cleanly. If you haven’t sharpened your blade this season, do it before this mow.
Weeks 5–6 — Fall Fertilizer Application
18. Apply a fall fertilizer once new seedlings have been mowed at least once. Look for a blended slow/fast release formula — often listed as WIN (water-insoluble nitrogen) percentage of 50% or higher on the label. A slow-release or blended product feeds roots rather than pushing rapid top growth. Fast-release nitrogen this late in the season sends energy to blades instead of root storage, which hurts winter hardiness. A fall lawn fertilizer like Scotts Turf Builder WinterGuard fits this profile well — it uses a blended release formula designed for exactly this application window.
Target application at least 4 weeks before the ground freezes. For most northern zones, that means October. Transition zone lawns may be pushing into early November.
See Slow-Release vs. Fast-Release Fertilizer for a full breakdown of what to look for on the label and why the formula matters more at this stage than the nitrogen number alone.
Aeration and Overseeding Timing: Getting the Sequence Right for Your Fall Cool Season Renovation
The most common sequencing error: aerating and seeding on the same day with a pre-emergent herbicide in the mix. Here is why that’s a problem.
Aerate first, overseed second. Seed dropped into freshly opened aeration holes gets direct soil contact without tilling. Wait more than 48–72 hours and those holes start to dry out and close.
Do not apply a pre-emergent herbicide in fall if you’re overseeding. Pre-emergents don’t distinguish between weed seed and grass seed. They will suppress your new grass just as effectively as they suppress crabgrass. This is the tradeoff: if crabgrass was a serious problem this year, you can overseed without pre-emergent, or apply pre-emergent and skip overseeding. You can’t do both effectively in the same renovation pass. If you go the pre-emergent route this fall and plan to overseed next year, a granular pre-emergent herbicide like Scotts Halts Crabgrass Preventer applied in spring can handle crabgrass control once your new turf is fully established — bookmark Spring Lawn Pre-Emergent Timing: Soil Temperature Trigger vs. Calendar Date Explained so you get the spring application window right.
Watch soil temps. If the soil drops below 50°F before you’ve seeded, germination rates fall sharply. Gardeners in zones 5 and colder should start their Week 1 prep in mid- to late August to maintain the full 6-week window.
Fall Fertilizing During a Cool Season Lawn Renovation: What to Apply and When
Two applications fit naturally into this plan, and both serve a different purpose.
Starter fertilizer at Week 3 supports root development in new seedlings. Phosphorus is the active driver here. Apply it at seeding — not before, not weeks after.
Fall nitrogen at Weeks 5–6 feeds existing grass roots and loads them with carbohydrate storage for winter. This directly affects how fast the lawn greens up in spring. It’s not about blade growth — it’s about what the roots are banking underground.
Do not apply lime or sulfur during the active seeding window if it can be avoided — make those amendments in Week 1 based on your soil test results.
Common Mistakes That Waste Your Fall Cool Season Lawn Renovation
- Starting too late. Seeding after soil temps drop below 50°F means poor germination. Count 6–8 weeks back from your average first frost date and start there.
- Applying pre-emergent with overseeding. It suppresses grass seed. Check your spring pre-emergent label for reseeding restrictions before you assume fall overseeding is safe.
- Seeding directly onto thatch. Seed doesn’t germinate floating on ½ inch of organic debris. It needs soil contact. Aerate or dethatch first.
- One heavy daily watering instead of multiple light ones. New seed needs the surface to stay moist, not the deep soil. A single heavy watering leaves the seed zone dry for hours between sessions.
- Mowing too soon or too low. Wait for 3-plus inches. Never cut more than one-third at once. This is non-negotiable with newly seeded areas.
- Using whatever fertilizer is in the garage. A balanced all-purpose or high-nitrogen product isn’t a starter fertilizer. Use a phosphorus-forward starter at seeding, then switch to a fall formula at Weeks 5–6.
What a Successful Fall Renovation Looks Like for Cool Season Grass
By the end of Week 6, here is what you should see:
- New seedlings visible and 1.5–2.5 inches tall, distributed across seeded areas without large gaps
- Existing turf green and actively growing, with no fertilizer burn or yellowing
- No large bare patches — some thin areas are normal and will continue filling through fall and into spring
One important note on Kentucky bluegrass: it spreads by rhizome (underground stems), not tillering like tall fescue. Density builds more slowly. Don’t judge a bluegrass renovation by Week 6 coverage the same way you would tall fescue.
What to carry forward into late fall: one more fertilizer application after growth slows but before the ground freezes locks in root carbohydrate storage for winter. Then standard spring maintenance picks up from there — and if you want a full-season framework, the Cool Season Lawn Care Schedule Month by Month Guide lays out what the rest of the year looks like for cool season lawns.
The renovation window is short, but if you run these steps in order — prep, aerate, overseed, start fertilizer, water consistently, mow right, finish with fall nitrogen — the lawn you’re looking at in October will be noticeably different from the one you started with in August.
Frequently Asked Questions
When exactly should I start a fall lawn renovation in my area? Count 6–8 weeks back from your average first frost date and mark that as your Week 1 start. Northern zones (USDA zones 4–5) should target mid- to late August. Zone 6 lawns typically start in early September. Transition zone lawns (zone 7) may push into mid-September, but the window is tight — prioritize starting on time over waiting for perfect conditions.
Can I aerate and overseed on the same day? Yes — and you should. Aerate first, then overseed immediately after, ideally the same day or within 24–48 hours. The open aeration holes provide direct seed-to-soil contact that would otherwise require a slit seeder. Waiting longer lets the holes dry out and close.
What if my lawn is more than 50% dead — should I still overseed or start over? If more than half the lawn is dead or bare, a full renovation (kill, till, reseed) typically produces better results than overseeding. Overseeding into heavy thatch and sparse existing turf rarely achieves the density you’re after. A clean slate, while more work, gives new seed the best possible start.
Do I need a core aerator or will a spike aerator work? Core aeration is strongly preferred. Spike aerators compress soil around the hole rather than removing material, which can worsen compaction over time. Core aerators pull plugs out of the ground, creating genuine channels for seed, water, and air. Rent a core aerator from a home improvement store for one-time seasonal use — it’s worth it.
Can I apply a pre-emergent in fall if I’m overseeding? No. Pre-emergent herbicides inhibit seed germination regardless of species — they will suppress your grass seed just as effectively as weed seed. If you need pre-emergent control and want to overseed, you have to choose one or the other in the same season. Plan overseeding for fall and pre-emergent for spring.
How long after overseeding can I apply a weed killer? Wait until new seedlings have been mowed at least two to three times before applying any post-emergent herbicide. That typically means 6–8 weeks after seeding. Applying too early stresses or kills seedlings that haven’t fully established. Spot-treat if necessary, but hold off on a broadcast application.
What if I miss the 6-week window — should I still seed in late fall? If soil temps have already dropped below 50°F, germination rates fall sharply and results will be unpredictable. You can attempt dormant seeding — spreading seed in late fall or early winter with the intent that it germinates in early spring — but success rates are lower and you have no control over timing. If you’ve missed the window, it’s often better to wait and execute the plan correctly the following fall.
How do I know if my new grass seed is germinating or if something failed? Most cool season grasses germinate in 7–21 days under ideal conditions. Perennial ryegrass is fastest (5–10 days); Kentucky bluegrass is slowest (14–21 days or more). If you’re past that window and see nothing, check surface moisture first — seed that dries out won’t germinate even if it hasn’t failed entirely. For a full troubleshooting checklist, see Overseeded Lawn Not Germinating: Why Your Grass Seed Isn’t Coming Up.

Subscribe to our Newsletter for Weekly updates!