
You got your results. The report looks more complicated than you expected. Here’s how to read it and turn it into a specific action plan — in the right order — so you know exactly what to do after soil test results come back from the lab.
Disclosure: This article contains affiliate links. If you purchase through these links, I may earn a small commission at no extra cost to you. As an Amazon Associate, I earn from qualifying purchases.
How to Read Your Soil Test Report Without Getting Overwhelmed
Before you act on anything, you need to know what you’re looking at. Soil test reports vary by lab — a university extension lab report looks different from a private lab’s, which looks different from a basic home soil test kit — but they all cover the same core data:
- pH — your soil’s acidity or alkalinity level
- Macronutrients — nitrogen (N), phosphorus (P), and potassium (K)
- Secondary nutrients — calcium (Ca), magnesium (Mg), and sulfur (S), if tested
- Organic matter percentage — not always included, but useful when it is
Labs present this data in one of two formats. Some give you numeric values alongside acceptable ranges (e.g., “Phosphorus: 18 ppm / Optimal range: 25–50 ppm”). Others use letter ratings — Low, Medium, High, or Excessive — which are easier to act on directly.
Start with the recommendations section, not the numbers table. If your lab included written recommendations — and most university extension labs do — go there first. That section already translates the numbers into action. The tables exist to give you context, not a homework assignment.
- Find your pH value
- Find your nutrient ratings or numbers for P and K
- Read any written recommendation text from the lab
If you used a basic home test kit rather than a lab, you likely have pH and rough NPK readings. That’s enough to act on pH correction and make broad fertilizer decisions — but lab results are more precise and worth the investment if you’re making significant amendments.
What Soil pH Actually Means for Your Lawn — and Why It Comes First
pH is a scale from 0 to 14. Below 7 is acidic; above 7 is alkaline; 7 is neutral. Lawn grasses — both cool-season and warm-season types — perform best in a pH range of 6.0 to 7.0. Most U.S. lawns test somewhere between 5.5 and 7.5.
Here’s why pH comes before everything else on your soil test results: pH controls how well your grass can access nutrients already in the soil. Even if your soil has plenty of phosphorus and potassium, grass can’t absorb them efficiently if pH is out of range. Applying fertilizer on out-of-range soil is like filling a tank with a closed valve. Fix pH first.
If Your pH Is Below 6.0: Apply Lime
You need to raise your soil pH with ground limestone. Two types are commonly available:
- Calcitic lime — pure calcium carbonate; the standard choice
- Dolomitic lime — calcium carbonate plus magnesium; choose this if your report also shows low magnesium
Application rate depends on how far below 6.0 your pH is and your soil texture (clay soils require more lime than sandy soils). Your lab report should specify a rate. If it doesn’t, a common starting point is 40–50 lbs per 1,000 sq ft, but don’t exceed the product label.
If Your pH Is Above 7.0–7.5: Apply Elemental Sulfur
High pH requires elemental sulfur to bring it down. This is a slow process — expect it to take several months, not weeks. Apply in fall or spring when grass isn’t heat-stressed.
If Your pH Is 6.0–7.0: Skip This Step
Your pH is in range. Move directly to nutrients.
Timing note for lime and sulfur: Both work best when watered in. Apply just before a rain event, or irrigate immediately after. If you can core aerate before applying lime or sulfur, do it — aeration improves penetration and speeds results.
Understanding the Nutrient Numbers on Your Soil Test Results
Learning how to read lawn soil test results for nutrients is simpler than it looks once you know which numbers actually matter. This section explains how to interpret soil test results for each major nutrient so you can filter your fertilizer options in the next step.
Nitrogen (N): Don’t Over-Rely on This Number
Labs rarely test for nitrogen directly, and when they do, the number is unreliable. Nitrogen moves through soil quickly — it’s present one day, leached or consumed the next. Use your grass type and the season to determine nitrogen timing and rate, not the soil test. If your report shows a nitrogen rating, treat it as background context, not a directive.
Phosphorus (P): Match Your Fertilizer to the Rating
On fertilizer bags, phosphorus is listed as P₂O₅ — the second of the three numbers on any fertilizer label (e.g., 10-20-10).
- Low phosphorus: Look for a starter fertilizer or balanced fertilizer with a mid-to-high middle number. A 10-20-10 or 12-12-12 works well.
- High or Excessive phosphorus: Skip phosphorus entirely. Choose a phosphorus-free fertilizer — look for a zero in the middle number, like 32-0-10.
Potassium (K): The Stress Resilience Nutrient
On fertilizer bags, potassium is listed as K₂O — the third number (e.g., 10-10-10).
- Low potassium: Choose a fertilizer with a higher third number.
- High potassium: No supplemental K needed — select a fertilizer based on P requirements alone.
Secondary Nutrients Worth Noting
- Calcium (Ca) low: Usually corrected by liming — lime is calcium carbonate.
- Magnesium (Mg) low: Use dolomitic lime if you’re already raising pH; otherwise, magnesium sulfate (Epsom salt) can help — but only apply Epsom salt if your test confirms a deficiency.
- Sulfur (S) low: Often corrected as a byproduct of other amendments; elemental sulfur applications address both pH and sulfur simultaneously.
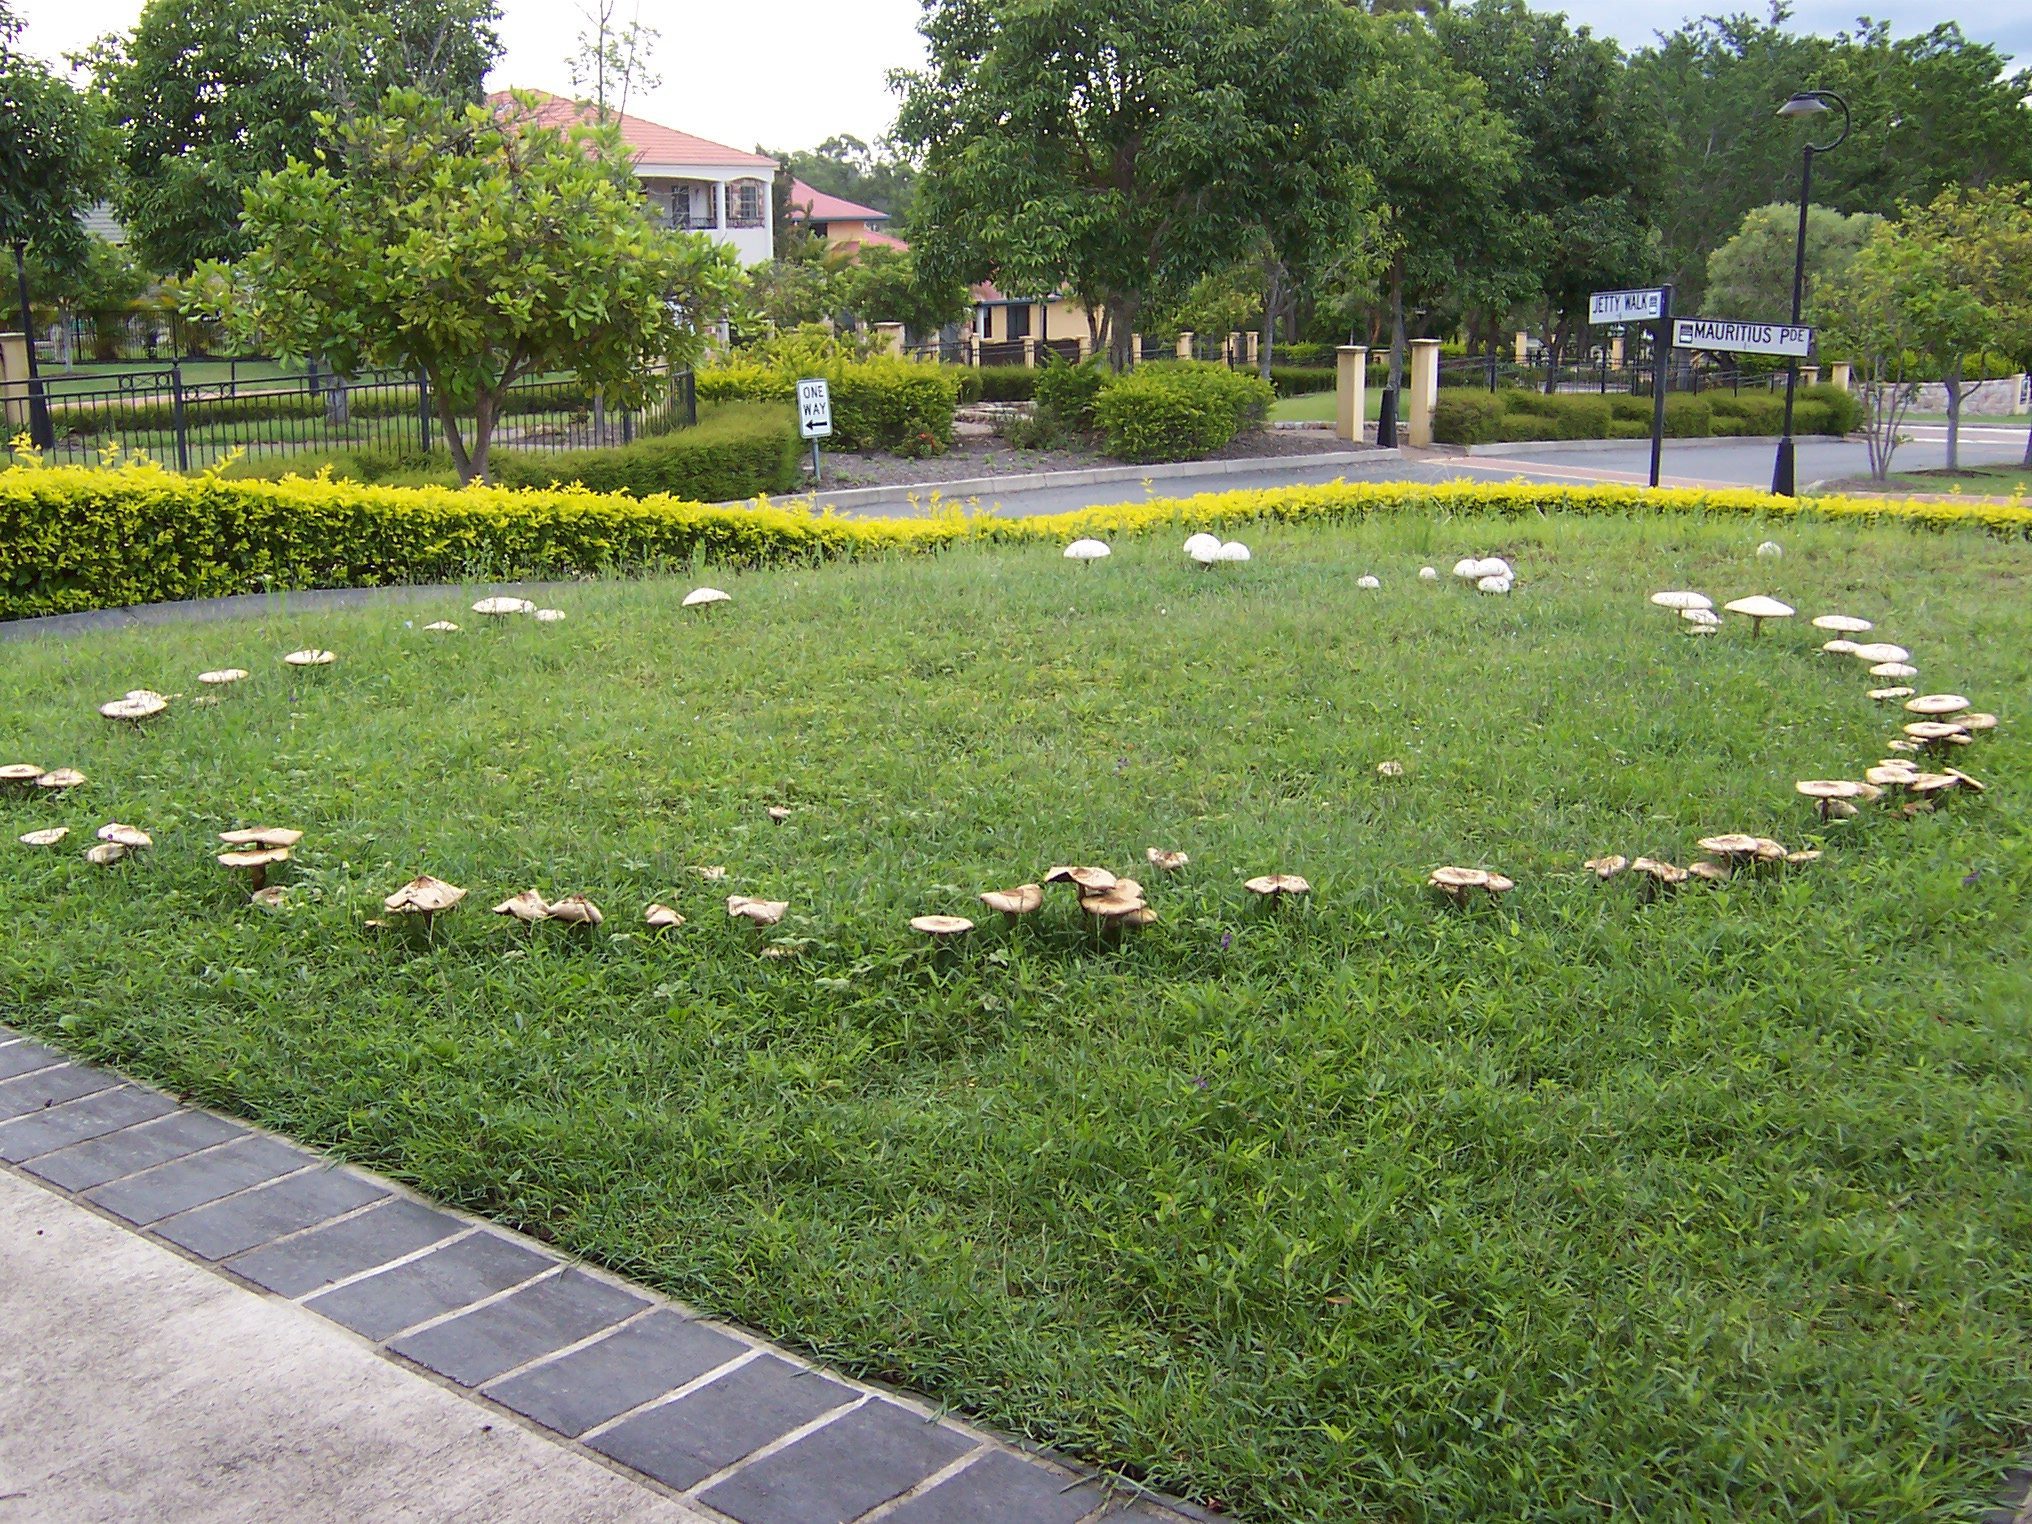
Organic Matter Percentage
If your report includes organic matter, below 3% is considered low. Low organic matter reduces water retention and microbial activity, which weakens the soil’s ability to deliver nutrients efficiently. Improvement is a multi-year project — topdressing with compost each fall is the standard method.
Before moving on: Write down your P and K ratings. These two numbers determine which fertilizer you buy.
What to Do After Soil Test Results Come Back: Building Your Amendment and Fertilizer Plan
This is where the report becomes a to-do list. Here’s the exact sequence for what to do after soil test results arrive from the lab — follow these steps in order.
Step 1: Fix pH first (if needed). Apply lime or sulfur before anything else. No fertilizing plan works correctly on out-of-range soil. If pH adjustment is needed, start here and let the amendment begin working while you plan the rest.
Step 2: Match your fertilizer to your P and K findings. Use the ratings you wrote down in the previous section to narrow your fertilizer choice:
- P low + K low → balanced fertilizer with mid P and higher K (e.g., 10-10-20)
- P high + K low → phosphorus-free with higher K (e.g., 32-0-12)
- P optimal + K optimal → focus on nitrogen content; a slow-release fertilizer with minimal P and K
For most established lawns, a slow-release fertilizer is the right primary feed. Slow-release nitrogen feeds grass gradually over 6–8 weeks, reducing the risk of burn and delivering steadier growth than quick-release options. Select one with the P and K ratio that matches your test findings.
- Cool-season grasses (fescue, bluegrass, ryegrass): Respond best to fall fertilizing, with a secondary application in early spring
- Warm-season grasses (bermuda, zoysia, St. Augustine): Peak feeding window is late spring through summer
Apply fertilizer within the right seasonal window for your grass, even if that means waiting a few weeks after you complete the pH amendment.
Step 4: Apply amendments in the right order. Lime or sulfur first. Then fertilizer at the appropriate seasonal window. If your lab says products can be applied simultaneously, follow that guidance — but don’t mix lime and fertilizer in the same spreader hopper.
Step 5: Record everything. Write down what you applied, the rate, and the date. Lime takes 3–6 months to fully shift soil pH. You won’t see results in a few weeks. Retesting in 12 months is how you confirm the correction worked.
What to Fix Now vs. What Can Wait Until Next Season
Not every finding on a soil test requires immediate action. Knowing what to do after soil test results come back also means knowing what not to rush. Here’s how to prioritize.
Fix This Season
- pH below 5.5 or above 7.5 — significant imbalances take time to correct; the sooner you apply, the sooner the amendment works
- Severe potassium deficiency before a stress season — low K heading into summer drought or winter dormancy leaves grass vulnerable
- Phosphorus deficiency on a lawn being reseeded or newly established — phosphorus is critical for root development in new grass; address it before or at seeding
Can Wait Until Next Season
- Minor pH adjustments (pH at 5.8 or 7.2) — these aren’t emergencies; apply at the next appropriate seasonal window
- Moderate nutrient imbalances late in the season — rushing fertilizer at the wrong time does more harm than good; wait for the right window
- Organic matter improvement — this is a multi-season project; plan to begin topdressing with compost next fall
- Micronutrient deficiencies (iron, manganese, zinc) — rarely urgent; many self-correct once pH is adjusted to the proper range
Common Mistakes Homeowners Make After Getting Soil Test Results
Even with a clear report, a few misreads are extremely common. Here’s what to watch for when deciding what to do after soil test results come back.
Ignoring the buffer pH. Some reports list two pH values: active pH and buffer pH. Active pH is the pH of your soil’s water solution. Buffer pH (also called reserve pH) reflects how resistant your soil is to pH change. A low buffer pH means your soil will push back harder — you’ll need more lime than standard rates to move the active pH. If your report shows both, use the buffer pH to determine your lime rate.
Treating nitrogen as a soil test finding. Nitrogen levels in soil change daily as microbes, rainfall, and plant uptake shift the balance. If your report shows a nitrogen number, it’s a snapshot — not a reliable guide. Base your nitrogen program on grass type and season, not the test number.
Mixing lime and fertilizer in the spreader. Lime and nitrogen fertilizer can react when combined, causing ammonia loss and reduced effectiveness. You can apply them the same day, but use separate passes through the spreader.
Adding nutrients that are already sufficient. If phosphorus shows “Optimal” or “High,” adding more phosphorus doesn’t help your lawn — it creates an imbalance and can interfere with micronutrient uptake. Only amend what the test flags as deficient or low.
Retesting too soon. This is one of the most common errors. Lime takes 3–6 months to meaningfully shift pH. Retesting at 6–8 weeks will show little to no change and may lead you to over-apply. Wait 9–12 months before you retest.
Frequently Asked Questions About Soil Test Results
What’s the difference between active pH and buffer pH on a soil test?
Active pH measures the acidity of the water solution in your soil — it’s the number most people think of when they say “my soil pH is 5.8.” Buffer pH (also called reserve pH) measures how resistant your soil is to pH change. A low buffer pH means it takes more lime to shift active pH because the soil has a high buffering capacity. If your report shows both values, use the buffer pH to calculate how much lime to apply, not just the active pH reading.
Can I apply lime and fertilizer at the same time?
Yes — lime and fertilizer can be applied in the same window, but don’t mix them together in the spreader hopper. Combining granular lime with high-nitrogen fertilizer can cause nitrogen loss through a chemical reaction that releases ammonia. Make two separate passes with the spreader: apply lime first, then fertilizer. Both can go down the same day without a problem.
My soil test shows phosphorus is excessive — what fertilizer should I use?
Choose a fertilizer with a zero in the middle number of the NPK ratio — for example, 32-0-10 or 26-0-5. These are phosphorus-free formulations. Do not add any phosphorus until your test results indicate a deficiency. Excess phosphorus in soil can interfere with zinc and iron uptake and can contribute to runoff problems. Let your mowing, watering, and nitrogen program carry the lawn while phosphorus levels naturally decline over time.
How long does it take for lime to change soil pH?
Lime typically takes 3–6 months to produce a meaningful shift in soil pH. The rate depends on lime particle size (finer particles react faster), soil moisture, soil temperature, and how thoroughly it’s worked into the contact zone. Pelletized lime is easier to spread but contains the same active material as ground lime — it doesn’t work faster. Core aerating before application speeds penetration. Don’t retest pH sooner than 9–12 months after application; you need adequate time for the chemistry to complete.
Why doesn’t my soil test show a nitrogen recommendation?
Nitrogen is highly mobile in soil — it moves with water, is consumed by microbes, and changes concentration rapidly. A nitrogen measurement taken today may not reflect what’s available to your grass tomorrow. For this reason, most university extension labs don’t test for plant-available nitrogen or provide nitrogen recommendations based on the test. Instead, nitrogen rates are based on your grass type, desired lawn quality, and time of year. Use your grass type and the current season to determine nitrogen timing and rate — not the soil test result.
How often should I test my lawn soil?
For most home lawns, testing every 2–3 years is sufficient once your soil is in a stable, healthy range. If you’ve recently applied lime or sulfur to correct a significant pH imbalance, retest after 12 months to measure the change. If your lawn has known problems — persistent yellowing, thin growth, or poor response to fertilizer — testing annually helps you track progress. Avoid testing more frequently than once a year; the results won’t reflect amendment changes that haven’t had time to take effect.
What does organic matter percentage on a soil test actually mean for my lawn?
Organic matter percentage reflects the proportion of your soil made up of decomposed plant and animal material. It influences water retention, microbial activity, and the soil’s ability to hold and release nutrients. Below 3% is considered low for lawns — soil with low organic matter drains quickly, compacts more easily, and has a smaller nutrient reservoir. Above 5% is generally considered good. Improvement is slow and measured in years, not seasons. Annual topdressing with a thin layer of compost (roughly ¼ inch) is the most practical method for home lawns. Don’t expect fast results, but organic matter percentage typically climbs steadily with consistent topdressing.
Do I need to aerate before applying lime?
You don’t need to aerate before applying lime, but doing so improves results. Core aeration opens channels in the soil surface that allow lime particles and water to penetrate deeper into the root zone, which speeds the pH-shifting process. If your lawn is compacted or thatch is heavy, aerating first is worth the extra step. If aeration isn’t practical this season, lime applied to the surface still works — it just moves more slowly. Water the application in immediately after spreading to begin the process.
What Success Looks Like After Acting on Your Soil Test Results
You’ve done this right when:
- You’ve identified your pH and know whether lime, sulfur, or no action is needed — with the specific rate and product ready
- You’ve written down your P and K ratings and used them to select a fertilizer that matches your soil’s actual needs
- You have a clear split between what you’re applying this season and what’s deferred to next
- You’ve logged the date of each amendment and set a reminder to retest in 12 months
Knowing what to do after soil test results return from the lab means knowing both what to act on and what to leave alone. Soil test results explained correctly give you the foundation — they tell you what the soil is missing and what it already has. Once pH is in range and primary nutrients are balanced, the rest of your lawn care work — nitrogen timing, seasonal feeding, grass-type-specific maintenance — delivers the results you’re after.
The test is done. Now it’s just about following the right steps in the right order.