Most homeowners pick a mowing direction and stick with it for years. But the best mowing patterns for your lawn aren’t just about aesthetics — they have a direct impact on grass health, soil condition, and the long-term appearance of your turf. If you’ve been mowing the same route every week without thinking about it, this guide will show you what that habit costs and how to fix it with a simple, free adjustment.
Disclosure: This article contains affiliate links. If you purchase through these links, I may earn a small commission at no extra cost to you. As an Amazon Associate, I earn from qualifying purchases.
Why Your Mowing Pattern Affects More Than Just Looks
Here’s what actually happens when you mow in the same direction week after week:
Grass leans. Blades bend in the direction your mower travels. Repeated passes in the same direction cause the grass to lean permanently rather than growing upright. Leaning grass reduces the surface area exposed to sunlight. That limits photosynthesis and produces a thinner, less vigorous lawn.
Soil compacts in strips. Your mower wheels follow the same lines every session. Repeated pressure on those exact paths compresses the soil beneath them and reduces pore space. Compacted soil resists water infiltration and limits root growth — making your lawn more vulnerable during dry stretches.
Ruts develop. Over a full season of identical patterns, mower wheels can wear visible grooves into the turf. Ruts disrupt drainage and create uneven cutting heights.
Changing your mowing pattern is one of the simplest, lowest-cost improvements you can make. No tools, no products, no expertise required. Just a different direction.
Common Lawn Mowing Patterns for Any Yard Shape — and When to Use Each
Understanding your options makes rotation easy. Here are the four patterns most homeowners work with, what they look like in practice, and when each one makes sense.
Straight Rows (Back and Forth)
The key mistake people make with straight rows is running them in the same direction indefinitely. The simple fix: mow north-to-south one session, east-to-west the next. That single change addresses grass lean and distributes wheel compaction across different soil lines.
Straight rows are the most forgiving pattern to learn but the least forgiving if you never rotate.
Diagonal / 45-Degree Angle
Instead of following the yard’s edges, you run straight rows at a 45-degree angle across the lawn. The execution is the same as straight rows — just repositioned.
Diagonal passes create a different stress pattern on the soil than cardinal-direction rows. That makes them a useful rotation option even for homeowners who mainly use straight rows. On a rectangular yard, alternating between straight rows and a 45-degree diagonal gives you three effective pattern variations before you repeat anything.
Circles / Spirals (Perimeter-In)
Start at the outermost edge of the lawn and work inward in concentric loops — rectangles or ovals that get progressively smaller toward the center.
This pattern suits yards with curved edges or irregular shapes where straight rows would require frequent awkward turns. It also reduces turning time on mowers with wide cutting decks.
One caution: avoid using the spiral as your only pattern. The center of the yard receives concentrated turn activity every session, which causes localized wear. Alternate it with straight or diagonal passes.
Checkerboard
The checkerboard requires two complete passes over the lawn in perpendicular directions. The first pass creates one set of stripes. The second pass, run at 90 degrees to the first, crosses them to create the grid effect.
This is the most time-intensive pattern on the list, but it produces the strongest visual result and automatically builds direction rotation into every mow. It works best on shorter, uniform turf where bent grass blades reflect light cleanly.
Best Lawn Mowing Patterns by Yard Shape and Size
Yard shape — not size — is the main factor in choosing a primary pattern. Here’s how to match the best mowing patterns for your lawn to your specific layout:
- Small square or rectangular yards: Straight rows with regular rotation between cardinal and diagonal directions. Simple, effective, and easy to maintain consistently.
- Long, narrow yards: Mow lengthwise to reduce the number of turns per session. Rotate to diagonal periodically to break the compaction pattern.
- Irregular or curved yards: Start with a perimeter-in spiral to handle the edges cleanly, then supplement with straight runs across the widest flat section.
- Large open yards: Any pattern works, but rotation becomes more important because compaction and ruts accumulate faster when the same wheel paths cover more total ground. A cordless electric lawn mower with a wide cutting deck can make executing clean, consistent patterns significantly easier across a large area.
- Yards with obstacles (trees, beds, structures): Mow around obstacles first to establish a clean boundary, then fill in with your primary pattern. This keeps your main pattern consistent and reduces awkward mid-pattern detours.
Yard size affects fatigue and how long the job takes — it doesn’t change which pattern is technically best. Shape is the deciding factor.
Why Changing Your Mowing Direction Keeps Grass Healthier
This is where rotating patterns pays off agronomically.
When grass blades bend toward your mower repeatedly, they grow in that direction over time. Upright grass blades catch more sunlight per blade. That supports denser, more vigorous growth. Leaning grass produces a thinner canopy with uneven color and coverage.
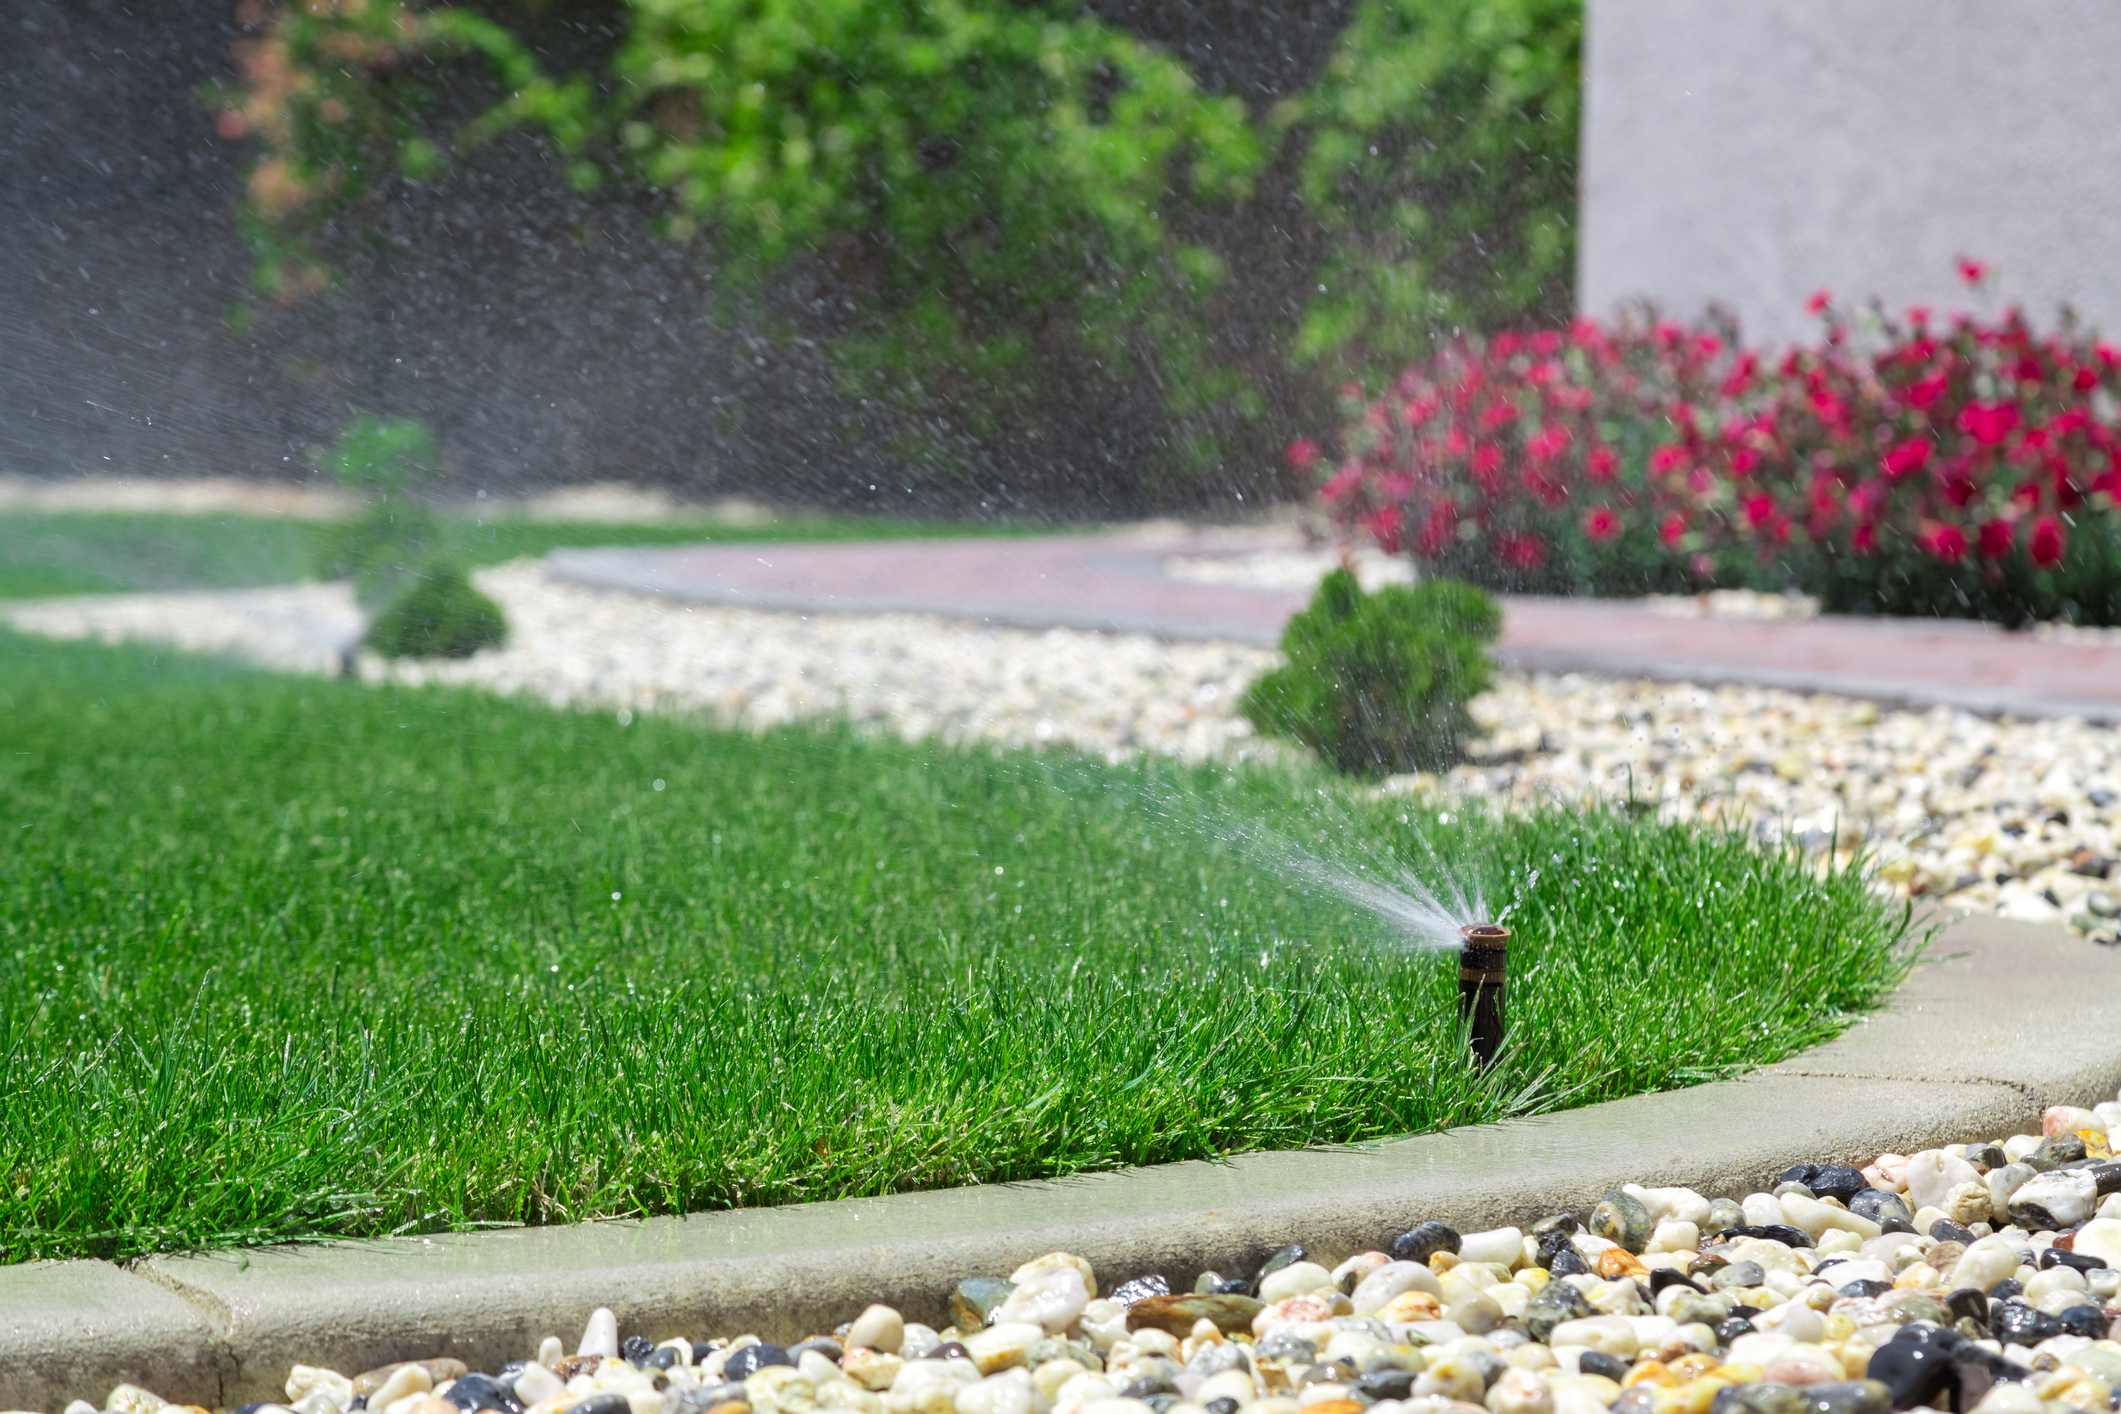
The soil compaction issue matters just as much. Mower wheels compress soil along the same lines with every pass. Compacted soil reduces water infiltration. That means rain and irrigation are less effective — and your lawn shows drought stress faster than it should. If your lawn looks stressed even when you think you’re watering enough, compacted soil from repeated mowing paths can be a contributing factor. Applying an organic soil amendment can help restore pore structure and biological activity in those compacted zones. Checking soil temperature at the 2-inch depth with a soil thermometer can also help you understand whether soil conditions are limiting root activity in those compacted zones. For more on reading your lawn’s water signals, see Signs Your Lawn Is Underwatered vs. Overwatered: How to Tell the Difference.
Changing direction also distributes wear across the whole lawn. Instead of compacting five specific strips repeatedly, you spread the load across the full surface each rotation.
Practical rule: Change your primary mowing direction at least every 2–3 mows. Diagonals and spirals count as different directions — you don’t have to limit yourself to perpendicular alternation.
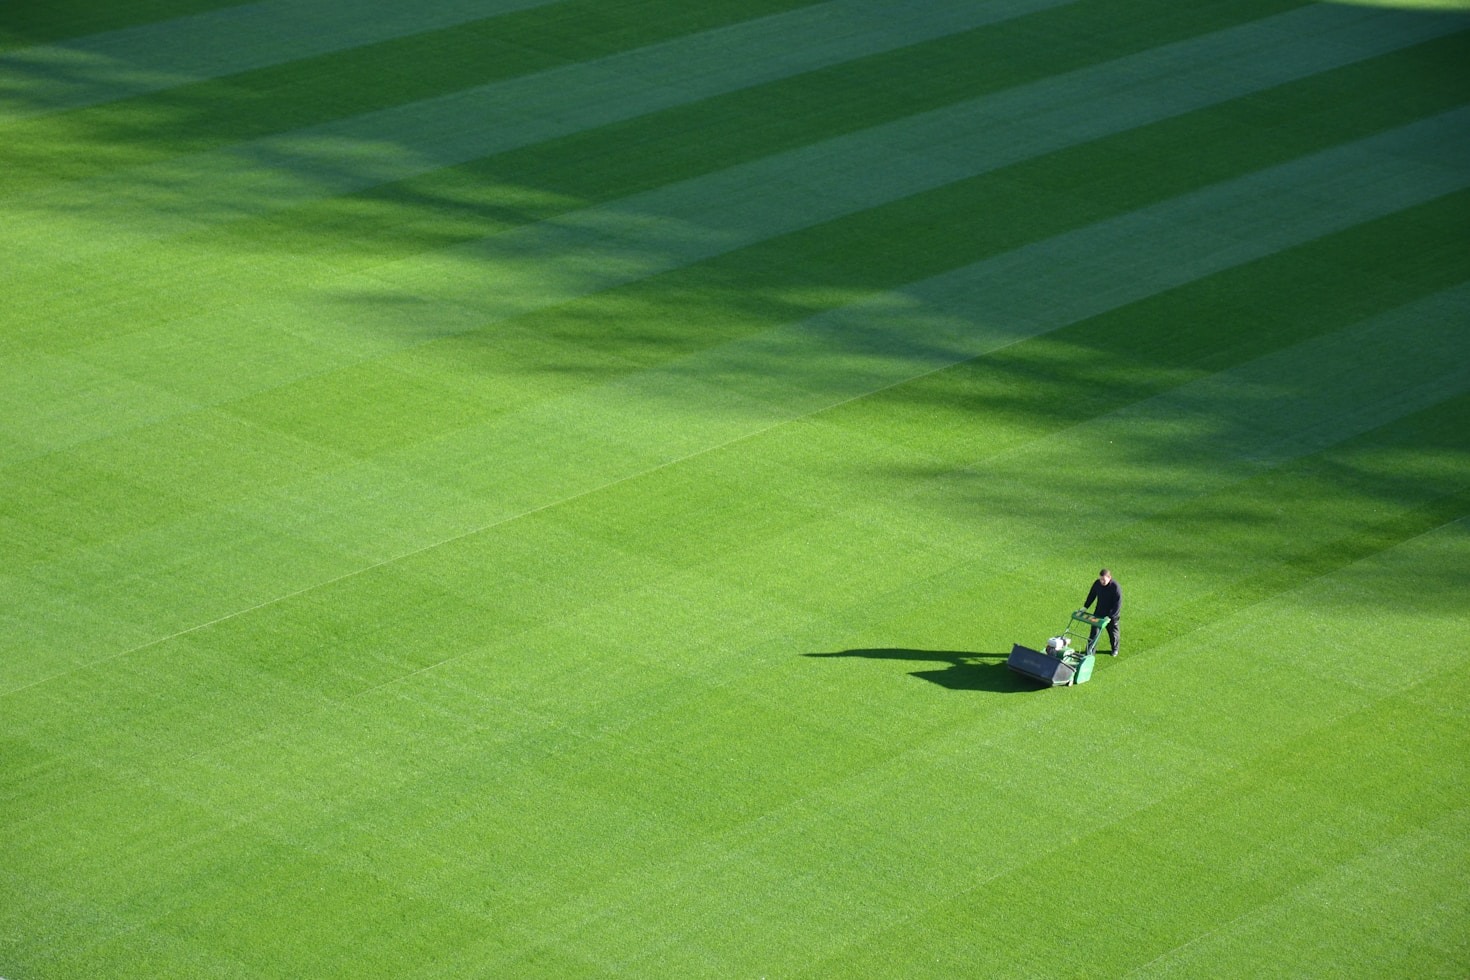
How to Mow Lawn Stripes Without Special Equipment
The stripe effect is optical, not chemical. Grass bent toward you reflects light differently than grass bent away from you — one appears lighter, one appears darker. The contrast between adjacent rows creates the stripe.
Any mower creates basic stripes. A lawn striping roller attachment enhances the bend in the grass and makes stripes more defined and longer-lasting, but it isn’t required to get results. If you want to upgrade, look for a roller that fits your mower’s deck width, has adjustable weight, and uses a hitch type compatible with your specific mower model. View striping roller attachments on Amazon to compare options before buying.
- Mow in straight, overlapping passes — overlap each row by about 2–3 inches to avoid missed strips.
- Make clean 180-degree turns at the edge of the lawn rather than on the grass surface.
- Maintain consistent speed — slowing down mid-pass creates uneven blade bending.
Scalped-looking lines between stripes are almost always caused by poor overlap or uneven ground, not the mower itself.
For a checkerboard effect: Complete the full lawn in one direction, then run a second full pass at 90 degrees to the first. This works best on short, even turf where bent blades reflect light cleanly.
Mowing Pattern Mistakes That Damage Your Lawn Over Time
These are specific, preventable errors — not general reminders to mow regularly.
Mowing in the same direction every week. This is the most common and most damaging mistake on this list. Grass leans, soil compacts, ruts form. Rotating costs nothing and prevents all three outcomes.
Tight turns on the turf surface. Spinning or pivoting your mower on the lawn scuffs grass crowns and concentrates mechanical damage in one spot. Always complete turns on pavement, gravel, or at the very edge of the lawn.
Starting in the same corner every mow. Even with pattern rotation, always beginning from the same spot creates localized wear at that starting point. Shift where you begin each session.
Mowing wet grass in a pattern. Wet clippings clump and block your stripe lines, leaving surface mats that can smother grass underneath. Wet conditions are one scenario where switching from mulching to bagging is worth considering — for a full breakdown of when each approach makes sense, see Mulching vs. Bagging Grass Clippings: Which Is Actually Better for Your Lawn.
Ignoring slope direction. On sloped yards, mow across the slope horizontally rather than up and down. Mowing up and down a slope increases the risk of scalping high spots on the descent and creates a slipping hazard on wet grass.
Conclusion
Choosing the best mowing patterns for your lawn starts with identifying your yard’s shape. Straight rows work for most rectangular yards — add diagonal passes and an occasional spiral, and you’ve covered all the bases. Grass grows more upright, soil compacts more evenly, and your lawn handles stress better as a result. For other stress related lawn issues, our What’s Wrong With My Lawn?” might just have the answers you’ve been looking for.
Striping doesn’t require special equipment — just consistent, overlapping passes and clean turns at the edges. A roller attachment is an optional upgrade, not a requirement.
The single most impactful habit you can build is rotating your direction every 2–3 mows. That one change will do more for your lawn’s long-term condition than most products on the shelf.
For a look at our best tools for homeowners and what you might want to skip if you’re just starting out, check out our Best Lawn Care Tools for Homeowners article for more!