Knowing how to apply granular fertilizer without burning grass is the difference between a lawn that greens up evenly and one covered in yellow streaks. This guide covers spreader setup, ideal application conditions, step-by-step technique, and what to do if something goes wrong. Follow these steps every time and you’ll get consistent results without the setbacks.
Disclosure: This article contains affiliate links. If you purchase through these links we may earn a small commission at no extra cost to you.
Why Granular Fertilizer Burns Grass in the First Place
Before getting into technique, it helps to understand the mechanism — because every step in this guide exists to prevent exactly this.
Fertilizer burn happens when nitrogen salts pull moisture out of grass blades and roots through a process called desiccation. The grass dehydrates from the outside in. Two conditions make this worse: applying too much product in one spot, and spreading onto wet or drought-stressed grass. Both amplify salt uptake.
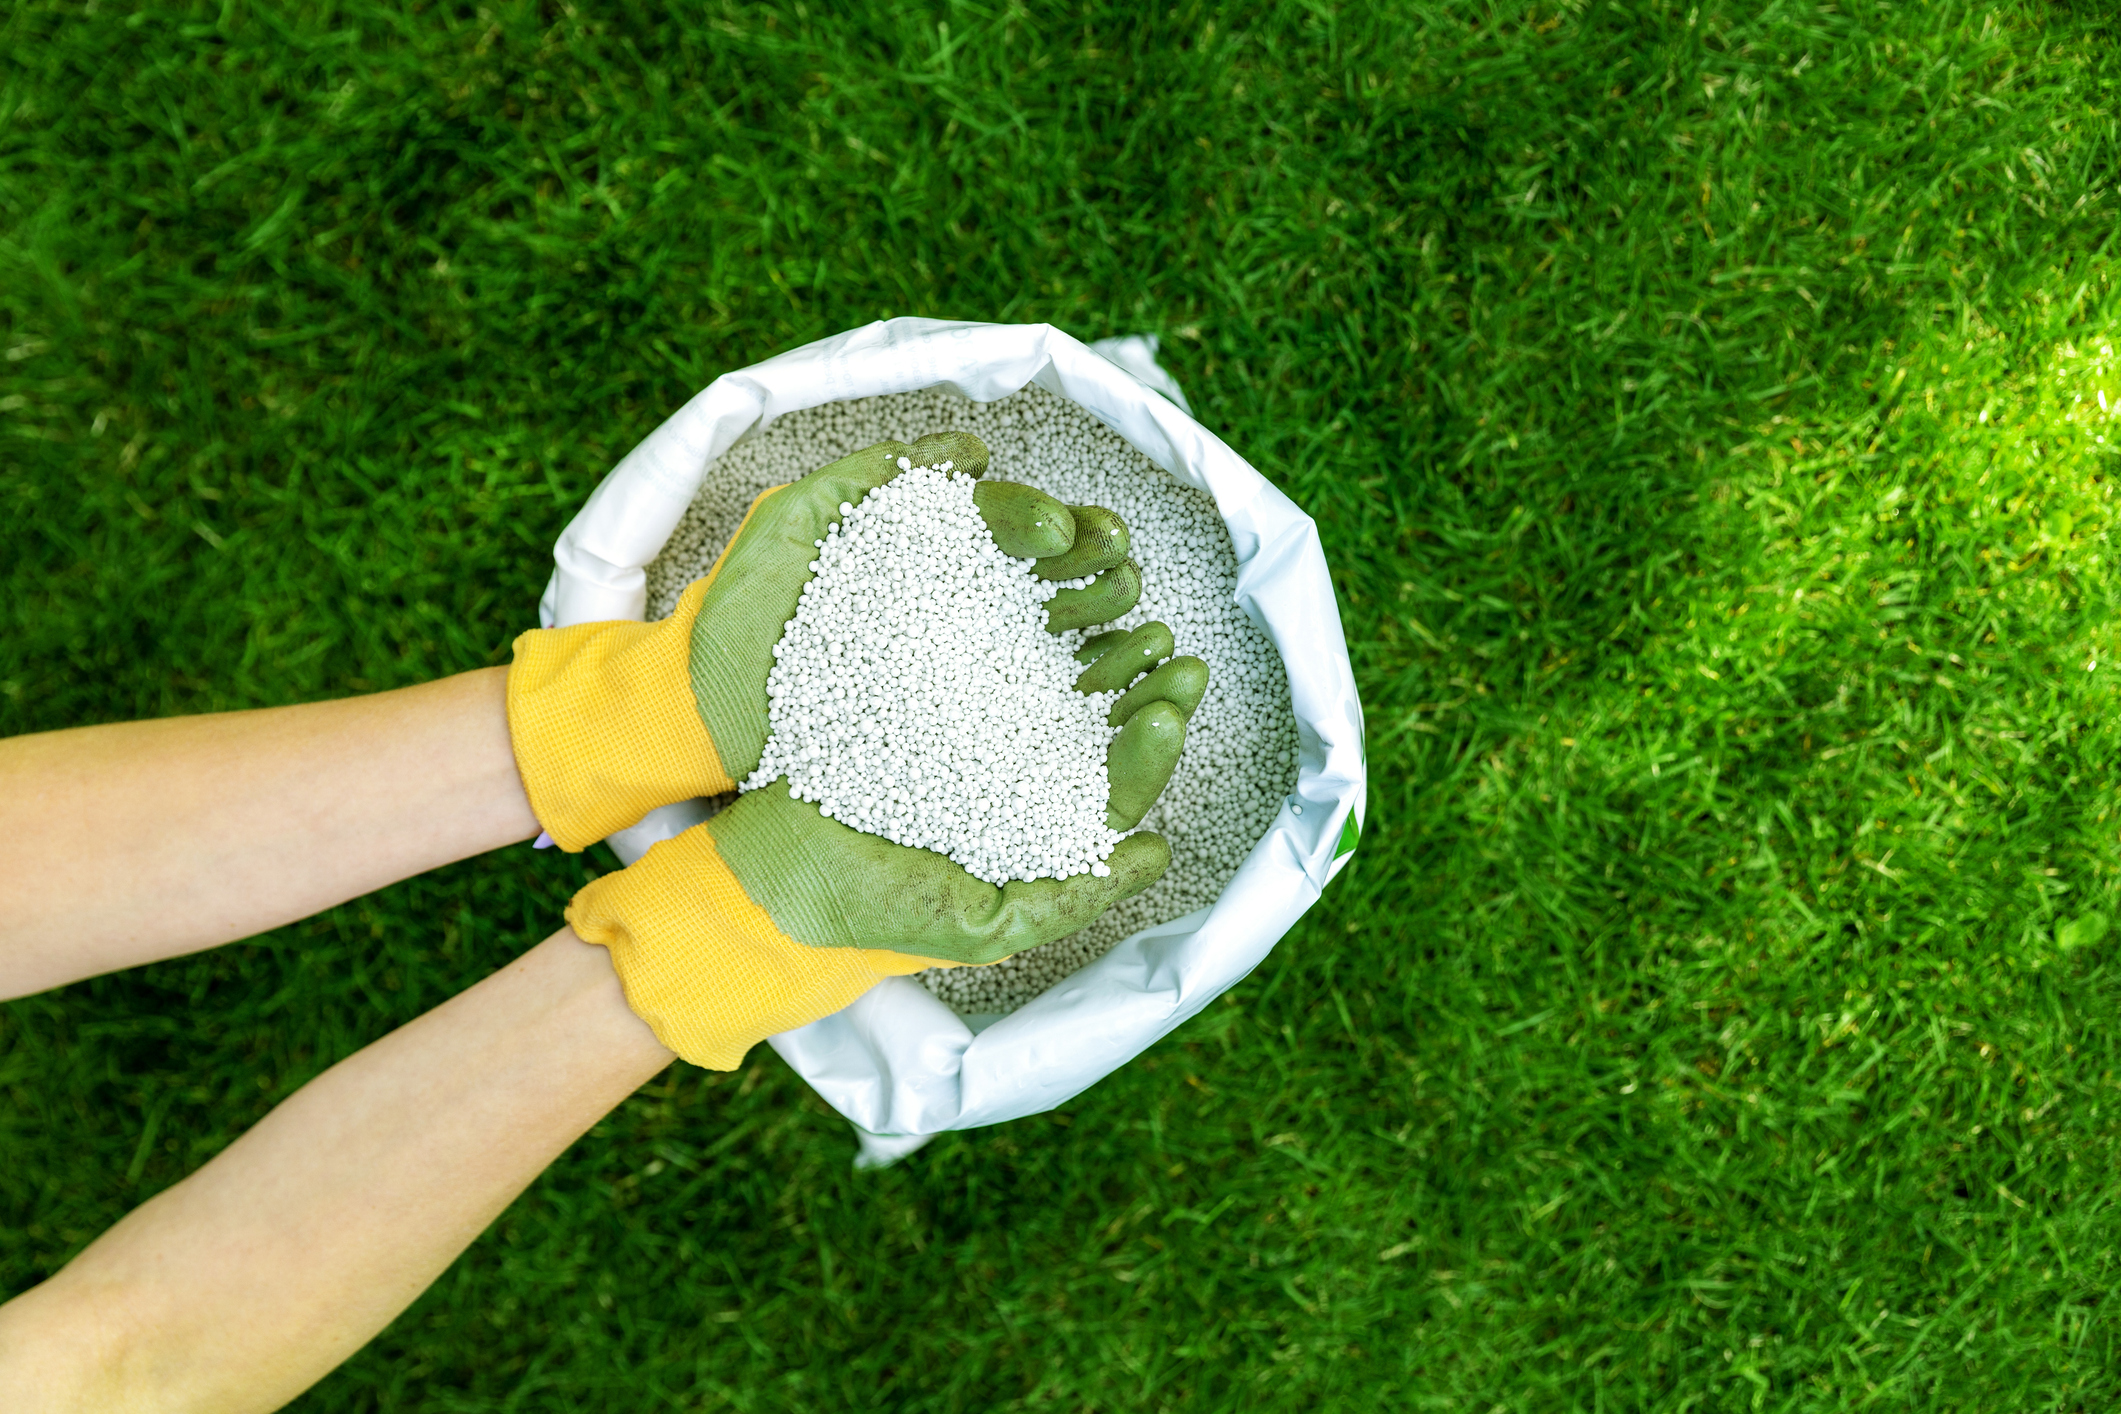
Granular fertilizer is generally safer than liquid when applied correctly. But it is not forgiving of sloppy technique. Products that use slow-release nitrogen sources — look for terms like “polymer-coated urea” or “IBDU” on the label — give you more margin for error. Scotts Turf Builder Slow-Release Lawn Food is a widely used example of this type of formulation. Nitrogen releases gradually with these products, which reduces the salt spike that causes burn. Even so, doubling up on a pass can cause burn with any product. Understanding this is what makes every precaution below worth following.
How to Set Your Spreader Correctly Before You Apply
Getting spreader settings right before you load the hopper is one of the most important granular fertilizer application tips — and one of the most skipped steps.
Rotary (broadcast) spreader vs. drop spreader: A rotary spreader throws granules in a wide arc, typically 8–12 feet. It works well for most home lawns over 2,000 square feet. A drop spreader releases product directly beneath the hopper in a narrow band. It’s slower but more precise for tight areas, edges, or windy conditions. For most homeowners, a mid-range broadcast spreader is the right tool. The Scotts Turf Builder EdgeGuard Mini Broadcast Spreader is a widely available option that works well for lawns up to 5,000 square feet.
For a broader look at the tools worth owning for regular lawn maintenance, see this guide on lawn care tools for homeowners.
Step 1: Find the Recommended Setting on the Bag
Step 2: Set the Rate Before Loading Product
Set the spreader to the correct number before filling the hopper. Never adjust the setting while the hopper is loaded and you’re moving. Product will dump unevenly at the point of adjustment.
Step 3: Do a Test Pass on a Hard Surface
Walk a section of driveway or sidewalk first. This confirms the spread width and pattern before you’re on the grass. Sweep it up afterward to avoid runoff into storm drains.
Step 4: Calibrate If Your Spreader Brand Isn’t Listed
If your spreader model doesn’t appear on the bag, you’ll need to calibrate it manually. Mark off a measured strip — 100 square feet is a common benchmark. Fill the hopper, make a pass, then collect and weigh what was dispensed. Compare that to the bag’s target rate per 1,000 square feet. Adjust the setting up or down until the output matches. This takes a few extra minutes but prevents you from guessing on your whole lawn.
Step 5: Handle the Headlands
On a rotary spreader, run a header strip along each end of the lawn at half the normal rate. Then fill in the middle with full-rate parallel passes. This prevents the edge accumulation that happens when you turn with the spreader still open. On a drop spreader, use the edge guard setting at borders.
The core principle here: Under-applying is always recoverable with a follow-up pass. Over-applying is not.
How to Apply Granular Fertilizer Without Burning Your Grass — Step by Step
This is where technique becomes the difference between a great result and a burned lawn. Work through these steps in order. They build on each other.
Step 1: Mow 1–2 days before applying. Freshly cut grass has open blade tips that absorb product faster than normal. Waiting 24–48 hours after mowing reduces that vulnerability. Don’t mow the same day you plan to fertilize.
Step 2: Confirm the grass is dry before spreading. Wet blades hold granules. This keeps nitrogen concentrated on the leaf surface instead of falling to the soil. Check for dew in the morning — mid-morning is usually when dew has dried and temperatures are still moderate.
Step 3: Walk at a consistent pace. Your walking speed directly affects application rate. Move faster and you apply less. Slow down and you apply more. Set your pace before you start the lawn, not mid-pass, and stick to it.
Step 4: Overlap passes by half the spread width on a rotary spreader. This is how even coverage actually happens. If your spreader has a 10-foot spread width, your next pass should start 5 feet over. Guessing at coverage is how you get stripes.
Step 5: Keep the hopper closed when turning. Close the hopper before you reach the end of each pass. Open it again once you’re moving in the new direction. Turning with the hopper open is one of the most common causes of double-application at headlands.
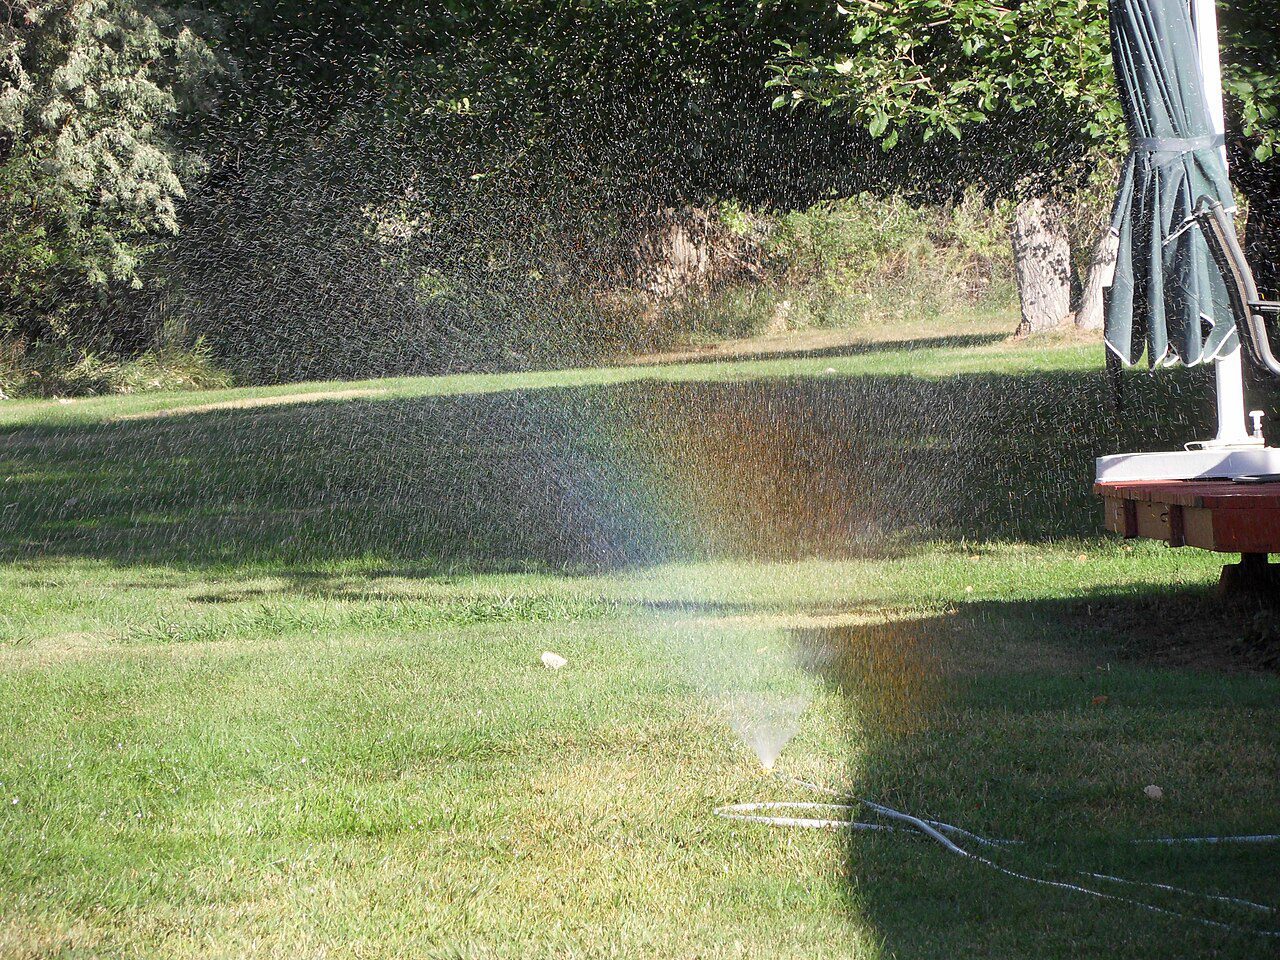
Step 6: Water in immediately after applying. Apply ¼ to ½ inch of water right after you finish. This moves granules off the grass blades and into the soil where they dissolve safely. This step is not optional. It’s what converts surface granules from a burn risk into available nutrients. A simple rain gauge placed on the lawn while you run your sprinkler takes the guesswork out of measuring output.
Timing and Conditions That Make or Break a Safe Application
Even perfect technique fails in the wrong conditions. Fertilizer burn prevention depends as much on when you apply as it does on how you apply. These are the variables that matter most.
Temperature: Do not apply when air temperatures exceed 85–90°F. Heat-stressed grass absorbs salts faster and burns more easily. If you’re in a summer heat streak, wait for a cooler stretch before applying. For fall application cutoff dates by grass type, see this guide on how late you can fertilize cool-season grass in fall.
Drought stress: If the lawn hasn’t received water in several days and blades are wilting, water thoroughly first. Wait 24 hours, then apply. Applying to drought-stressed grass raises burn risk significantly.
Wind: Rotary spreaders in wind create uneven distribution. Granules drift and concentrate in unexpected spots. Apply on calm days, or switch to a drop spreader in exposed areas.
Rain timing: A light rain shortly after application is fine. It acts as a natural water-in. Heavy rain within 30 minutes is a problem. It can wash product off the lawn before it absorbs, wasting fertilizer and creating runoff.
Time of day: Morning is the best window. Dew has usually dried by mid-morning, temperatures are lower than the afternoon, and you still have hours for watering before heat peaks. For more on watering timing, see this guide on the best time of day to water your lawn.
What to Do Immediately If You Over-Apply or Notice Burn Starting
If You Catch It Within 24 Hours
Water heavily — aim for at least 1 inch — to dilute and flush the nitrogen salt concentration before it causes tissue damage. The faster you act, the better the outcome.
If Burn Patches Are Already Showing
Yellowing or browning in lines (which often trace your spreader passes) or irregular patches means damage has already reached the blades. The roots may still be viable. Water the area daily for 1–2 weeks to support recovery from the root zone.
Do not re-fertilize burned areas. Adding nitrogen to stressed tissue makes the damage worse.
Recovery speed depends on grass type and temperature. Cool-season grasses in mild weather often bounce back faster. Warm-season grasses in summer heat can be slower.
If you’re not sure whether you’re looking at fertilizer burn or a different issue — yellowing after fertilizing can have more than one cause — this article on Centipede grass turning yellow after fertilizing covers the distinction in detail.
Granular Fertilizer Application Mistakes That Cause Burn Every Time
Keep this list in mind before you start your next application:
- Starting with the hopper open before moving — dumps a concentrated pile in one spot before you’ve built up walking speed
- Turning at the end of a pass with the spreader open — creates a double-application line at every headland
- Applying to a wet lawn — granules stick to blades instead of reaching the soil
- Skipping the watering-in step — granules sit on the surface and concentrate in low spots when dew forms overnight
- Using last season’s fertilizer without checking for clumping — clumped product won’t spread evenly and creates nitrogen hot spots
- Ignoring the bag’s rate because you want faster results — doubling the rate is the most direct path to a burned lawn
Frequently Asked Questions About Granular Fertilizer Application
How long after applying granular fertilizer should I water? Water within 30 minutes of finishing your application. You want to move granules off the blade surface and into the soil before dew or heat concentrates them. Aim for ¼ to ½ inch of water.
Can I apply granular fertilizer in the summer? Yes, but be cautious. Avoid applying when air temperatures exceed 85–90°F. If the lawn is showing drought stress, water first, wait 24 hours, then apply. Using a slow-release product reduces burn risk in warm conditions. If you’re maintaining a warm-season lawn, a warm season fertilizer like the Andersons Professional PGF Complete 16-4-8 is formulated to support those grasses through the growing season with reduced burn risk.
What does fertilizer burn look like on grass? Burn typically shows up as yellow or brown streaks that follow your spreader path. It can also appear as irregular patches in areas where product sat on wet blades or accumulated in low spots. If the yellowing doesn’t match any spreader pattern, the cause may be something else.
How do I know if my spreader setting is right? Check the spreader setting chart on the fertilizer bag. If your spreader brand isn’t listed, start at the low end of the range and calibrate manually: walk a measured strip, collect the output, and compare it to the bag’s target rate per 1,000 square feet.
Can I apply granular fertilizer before rain? A light rain within a few hours of application is fine — it helps water in the granules. Avoid applying if heavy rain is expected within 30 minutes. That much rain can wash product off the lawn before it’s absorbed.
Is it safe to apply fertilizer when it’s dry outside? If the grass itself is dry, yes. Dry blades let granules fall through to the soil surface. Just make sure to water in afterward. If the lawn is drought-stressed and wilting, water the grass first and wait 24 hours before applying. If you’re heading into the colder months, this is also a good time to apply a fall lawn fertilizer like Scotts Turf Builder WinterGuard to help roots build reserves before winter.
How long does it take to see results from granular fertilizer? Most granular fertilizers show visible green-up within 7–14 days. Fast-release products may show results in 3–5 days. Slow-release products take longer but deliver more even color without a surge and crash.
What’s the difference between a rotary and drop spreader for fertilizing? A rotary (broadcast) spreader throws granules in a wide arc — typically 8–12 feet — and works efficiently on larger lawns. A drop spreader releases product in a narrow band directly below the hopper. It’s more precise but takes longer. Use a rotary spreader for most lawns and a drop spreader near garden beds, sidewalks, or in windy conditions.
What Successful Application Looks Like
Avoid those mistakes and your application process is essentially complete — here’s what to expect next.
When you’ve applied granular fertilizer correctly, you’ll see no striping, no yellowing, and no brown patches. Within 7–14 days — depending on grass type and soil temperature — you should see uniform green-up across the entire lawn.
If results are uneven but there’s no burn, the likely cause is spreader calibration. Your walking pace may have varied, or your overlap was inconsistent. Note what happened and adjust for next time.
If results are taking longer than expected, check whether you applied at the right time of year for your grass type. This guide covers the how of applying granular fertilizer without burning grass — for help deciding when to apply through the seasons, see the full guide on when to fertilize your lawn by season.
A lawn that greens up evenly without yellow or brown patches is the benchmark. Once you hit it consistently, the process becomes routine.
Subscribe to our Newsletter for Weekly updates!