A bad lawn can be turned around in a single growing season — but only if the steps are done in the right order. This guide lays out exactly how to fix a bad lawn — in the right order, with clear reasoning for each step. Knowing how to fix a bad lawn is less about effort and more about sequence. Skip steps or do them out of order, and you will repeat the same failure with fresh seed and lost time.
Expect 6–10 weeks of active management for a full renovation. This guide covers the complete arc: assessment, renovation decision, soil preparation, method selection, seeding or sodding, and first-season establishment. It is designed for homeowners who are ready to commit to a systematic rebuild — not another round of spot-patching that produces the same thin, weedy result.
One important distinction before you start: renovation means a systemic rebuild of the entire lawn. Spot repair means targeted fixes for isolated bare or thin areas. These are different projects with different timelines and tools. This guide covers both — and helps you determine which one your lawn actually needs.
Disclosure: This article contains affiliate links. If you purchase through these links, I may earn a small commission at no extra cost to you. As an Amazon Associate, I earn from qualifying purchases.
Step 1: Assess the Lawn Before You Do Anything Else
Renovating without understanding why the lawn failed will produce the same failure again. A grub infestation, chronic drainage problem, or severe soil compaction will defeat new seed just as effectively as it defeated the old lawn. This step takes 20–30 minutes and directly determines every decision that follows.
Run these four checks:
1. The screwdriver test Push a standard screwdriver 6 inches into moist soil. If it requires significant hand force to penetrate, compaction is a factor. Compacted soil prevents root development and blocks water infiltration. New seed will struggle even after germination.
2. Weed-to-grass ratio Walk the full lawn — perimeter and interior — and estimate the percentage of the area covered by weeds versus desirable grass. This number drives the decision in Step 2. Be honest: a lawn that looks 60% green may be 60% weeds.
3. Bare patch percentage Note how much of the lawn has no living plant cover at all. Bare soil percentage matters separately from weed coverage. Bare areas require active seeding or sodding. Weed-dominated areas may require vegetation removal first.
4. Root cause Was this damage caused by a specific event — a drought period, a disease outbreak, grub feeding, or heavy traffic? Or did it develop through gradual neglect over several seasons? The answer determines whether you have an underlying condition to address before reseeding.
Take brief notes on each check as you walk. If the cause of damage is unclear after this assessment, get a full diagnosis before proceeding rather than guessing and moving on.
Important flag: If grub activity or fungal disease is the likely cause, address those problems before any seed goes down. Grubs feed on grass roots and will keep destroying new seedlings. Seeding into an active infestation wastes material and costs you a full season.
This is the fork in the road. Full renovation and targeted repair require different tools, different timelines, and different levels of disruption. Choosing the wrong path wastes an entire growing season. The most common mistake: trying to overseed a lawn that needs to be killed and restarted.
Apply the 50% rule:
- If more than half the lawn area is bare, dead, or weed-dominated → full renovation
- If less than half is affected, with healthy grass surrounding problem areas → targeted repair
Full renovation means killing all existing vegetation and starting completely fresh. Targeted repair means filling thin or bare spots without disturbing healthy surrounding turf.
Here is why skipping this decision is costly. If you overseed into a heavily weed-dominated lawn, new seedlings compete immediately with established weeds. Weeds have deeper roots and faster growth rates. They shade out new grass before it can establish. You end up with the same weedy lawn — plus the cost of seed and fertilizer.
Timeline expectations at this fork:
- Full renovation: one full growing season to reach true density
- Targeted repair: visible results in 4–6 weeks under good conditions
Set these expectations before you start. Many homeowners abandon the process too early because they expect faster results than the timeline allows.
Step 3: How to Fix a Bad Lawn Starts with Soil Preparation
This is the step most homeowners skip or rush — and it is the primary reason lawn renovations fail. When you want to fix a bad lawn properly, soil preparation is not optional. Seed on poorly prepared soil produces low germination rates, thin establishment, and early failure. No amount of watering or fertilizer compensates for bad seed-to-soil contact and incorrect pH. Cool-season grasses (Kentucky bluegrass, tall fescue, perennial ryegrass)
Kill Existing Vegetation (Full Renovation Only)
Apply a non-selective herbicide with glyphosate as the active ingredient across the entire lawn area. Wait 7–14 days before doing anything else. This waiting period is non-negotiable. Dead plant matter still physically blocks seed-to-soil contact. The herbicide also needs time to fully move through the root system before it has done its job. Cool-season grasses (Kentucky bluegrass, tall fescue, perennial ryegrass) Kentucky bluegrass vs tall fescue comparison
Remove All Debris
Rake out dead grass, accumulated thatch, and any remaining clippings after the waiting period. Seed needs direct contact with soil to germinate. A mat of dead organic material acts as a barrier between seed and soil. It reduces germination rates significantly. Use a dethatching rake for small areas or a power rake on larger ones.
Test and Amend the Soil
A basic soil test identifies pH imbalance and nutrient deficiencies. Most grass species perform best at a pH of 6.0–7.0. Outside that range, nutrients become chemically unavailable even when they are present in the soil.
Soil test kits are available from county cooperative extension offices and as mail-in kits for under $20. They eliminate guesswork and tell you exactly how much lime or sulfur to apply. Guessing at amendments is a common and expensive mistake.
- To lower pH (alkaline soil): apply elemental sulfur at the tested rate
Apply amendments before seeding. They work slowly and need weeks to alter soil chemistry. Applying them after seed is down is too late to affect germination.
Aerate the Soil
Core aeration pulls small plugs of soil from the ground. It breaks up compaction, improves seed-to-soil contact, and allows amendments and water to reach the root zone. This step matters most on clay-heavy soils.
Aerate before seeding, not after. Aeration equipment damages germinating seed and moves seed out of position.
Correct Low Spots
If water pools in low areas, add topsoil and level the grade with a landscape rake now. Do not attempt regrading after seed is down. Disturbing the soil post-seeding disrupts germination and sets back your timeline.
Step 4: Choose the Right Restoration Method
Seeding, sodding, and overseeding each have different cost structures, timelines, and requirements. The right method depends on the size of the affected area, your budget, and how quickly you need results. Selecting the wrong method — laying sod on unprepared soil or seeding at the wrong time of year — produces poor results regardless of effort.
Seeding (Full Renovation)
Seeding is the lowest-cost option per square foot and the best choice for large areas. The trade-off is time — expect 6–10 weeks before the lawn is usable and a full growing season before it reaches true density.
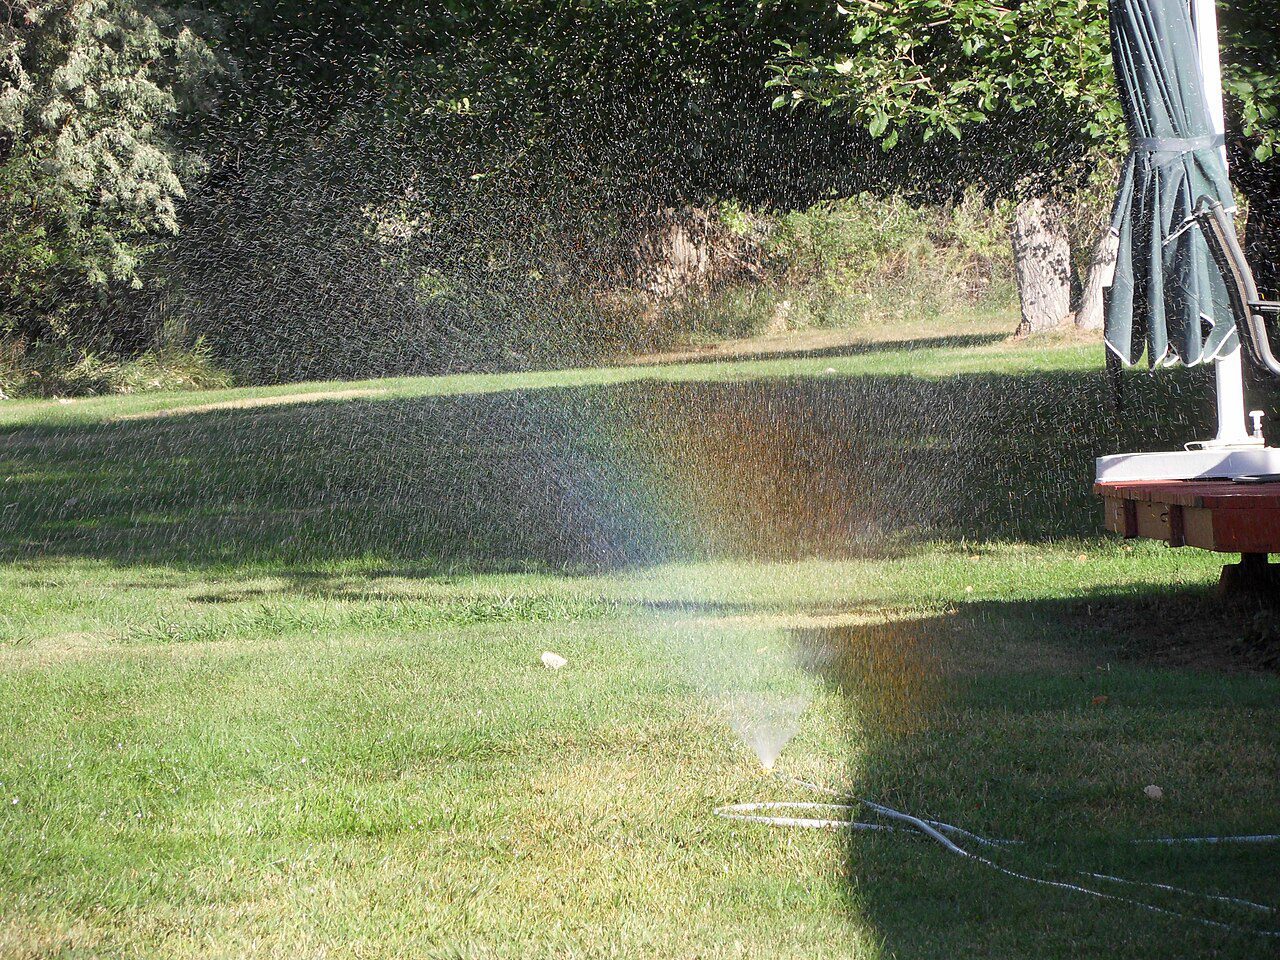
Seeding requires strict timing and consistent moisture management. Grass seed must stay moist during the entire germination window. This means watering every 1–2 days in dry conditions. An oscillating sprinkler on a timer makes this manageable over a large area.
Grass species selection should match your climate zone:
- Cool-season grasses (Kentucky bluegrass, tall fescue, perennial ryegrass): Seed in late summer to early fall when soil temperature is 50–65°F. Fall seeding gives seedlings time to establish before winter and avoids summer heat stress. Not sure which cool-season species fits your yard? The Kentucky bluegrass vs tall fescue comparison breaks down the key differences. For a full picture of what to do each month alongside your renovation, the cool season lawn care schedule is a useful companion resource.
- Warm-season grasses (Bermuda, zoysia, centipede): Seed or sprig in late spring to early summer when soil temperatures consistently reach 65–70°F. Warm-season lawns have their own establishment requirements — seeding outside that temperature window produces poor germination and weak stands.
Sodding
Sod provides the fastest visible result — 2–3 weeks to a walkable surface — at the highest material cost. It is the right choice for smaller high-visibility areas. It also works well when the homeowner cannot keep foot traffic off the lawn for weeks.
Sod still requires the same soil preparation as seeding. Laying sod on compacted, pH-imbalanced, or poorly graded soil fails at the same rate as seeding into bad conditions. The sod fails to root. It dries out and dies within a few weeks.
Overseeding (Targeted Repair)
Overseeding works for lawns that are thinning but still have a base of healthy grass. It does not require killing existing vegetation. Before overseeding, lightly dethatch or power rake the area to expose soil for seed contact. Broadcast seed at the recommended rate for the species, then apply a starter fertilizer to support early root development.
A phosphorus-rich starter fertilizer — look for a higher middle number in the N-P-K ratio — supports root establishment in new seedlings. Apply immediately after seeding.
Step 5: Seed, Sod, or Overseed — Then Manage Establishment
Getting seed or sod down is not the finish line. The establishment phase is where most lawn renovations succeed or fail. Managing this window carefully is the difference between a lawn that fills in and one that stalls.
Germination Window Management (Seeding)
- Days 1–14: Keep the seed bed consistently moist with light, frequent irrigation. Do not let the surface dry out. Germinating seeds that dry out die and will not recover.
- Days 14–21: Germination begins for most grass species. Reduce irrigation frequency but increase depth. Transition from light daily watering to deeper, less frequent sessions as roots develop.
- Do not mow until grass reaches 3–4 inches in height. The first mow should remove no more than one-third of the blade. Mowing too early pulls seedlings from shallow root systems.
Sod Establishment
- Water sod daily for the first two weeks, keeping it moist at all times.
- Lift a corner after 10–14 days. If roots have begun knitting into the soil below, establishment is progressing.
- Stay off sod for at least 2–3 weeks. Foot traffic on unrooted sod causes surface separation and stops root contact.
First Fertilizer Application
Apply a starter fertilizer at the time of seeding or sodding, then wait 6–8 weeks before applying a full lawn fertilizer. Applying high-nitrogen fertilizer too early pushes leaf growth before root systems are ready. The result is weak, shallow-rooted turf.
Root Establishment Check
At the 6-week mark, do a simple tug test. Grip a small patch of grass and pull gently. If it holds firmly, root establishment is solid. If it pulls out easily with little resistance, roots are still shallow. Give the lawn more time before normal traffic resumes.
When You Fix a Bad Lawn Right, Here Is What to Expect
The most important thing to know about how to fix a bad lawn is that the process is sequential. Each step creates the conditions the next step requires. Assessment informs the repair decision. Soil preparation determines germination success. Timing determines establishment rate. Cut any of those steps and the chain breaks.
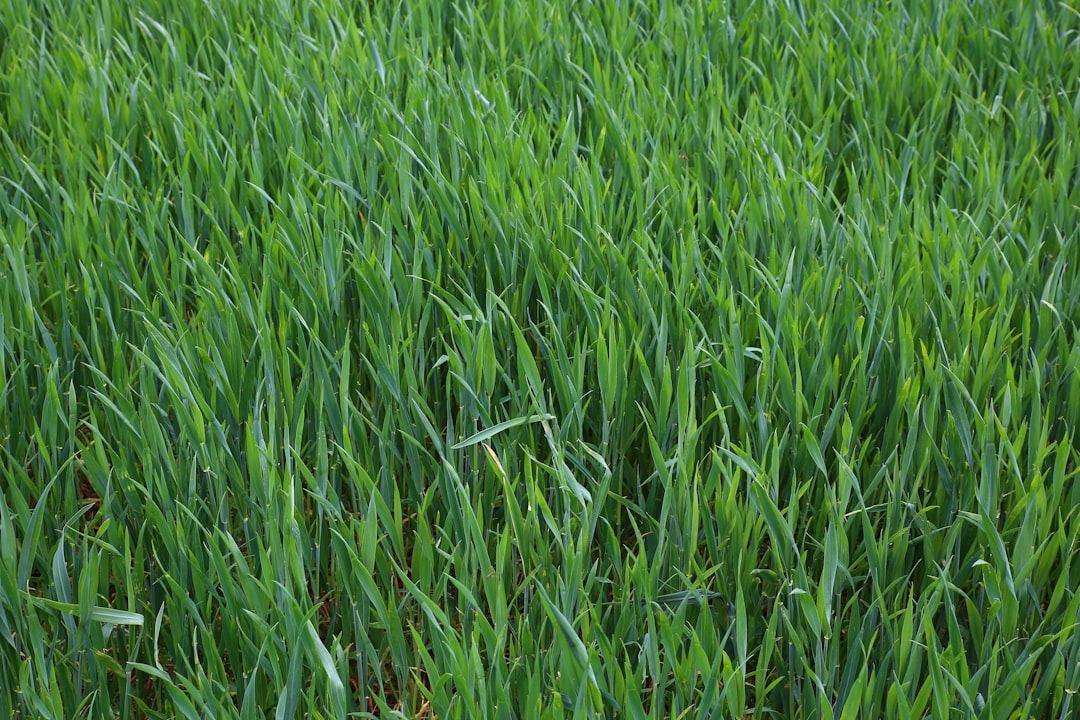
By the end of the first growing season, a properly executed full renovation should produce uniform grass coverage, no significant bare patches, and noticeably reduced weed pressure. The lawn will not look like a mature, dense stand in year one — that takes two to three seasons of consistent care — but it should look clearly healthier, greener, and more even than before renovation.
For targeted repairs, success is visible within 4–6 weeks. New grass fills the previously bare or thin areas and begins matching the surrounding turf in color and texture.
Follow the steps in order. Manage moisture consistently through the germination window. A lawn that looked beyond saving in spring can be dense, healthy grass by fall.
Subscribe to our Newsletter for Weekly updates!